Jenkins Guide
The ci-management or releng/builder repos in an LF project consolidates the
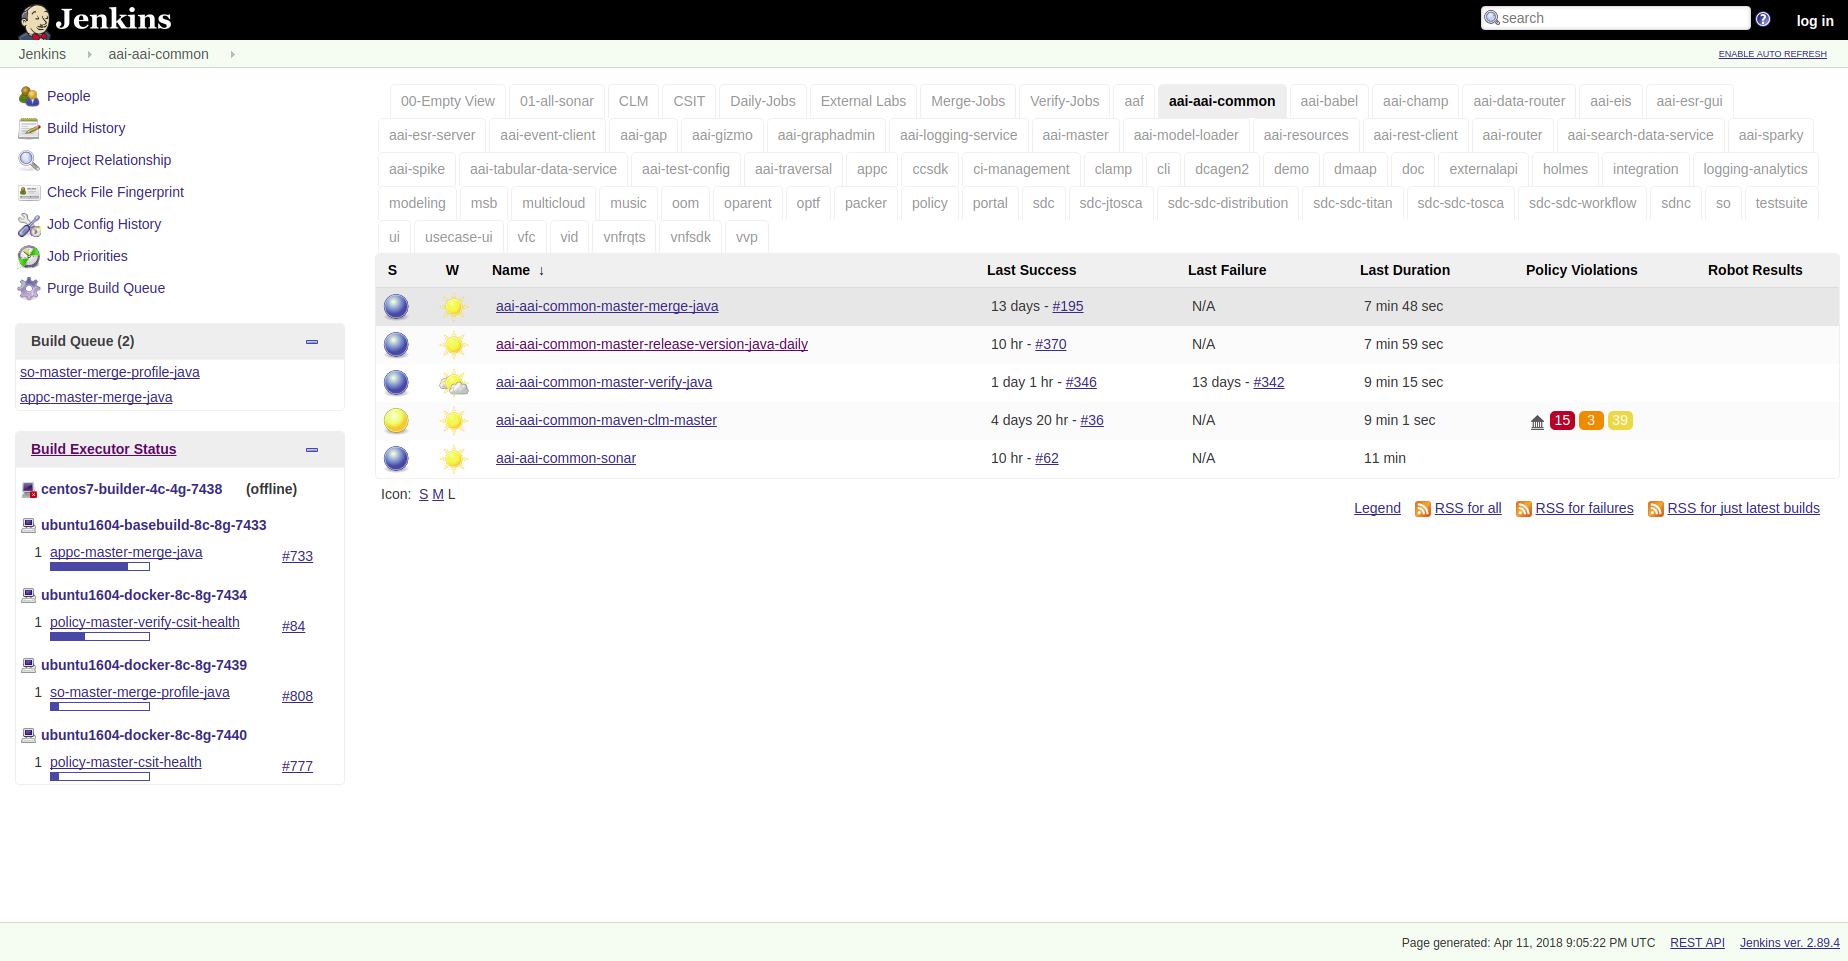
Jenkins jobs from project-specific VMs to a single Jenkins server. Each Git repo in
every project has a view for their jobs on the main Jenkins server. The system utilizes
Jenkins Job Builder for the creation and management of the
Jenkins jobs.
Quick Start
This section provides details on how to create jobs for new projects with minimal steps. All users in need to create or contribute to new job types should read and understand this guide.
As a new project you will be mainly interested in getting your jobs to appear in the Jenkins server silo archiving it by creating a <project>.yaml in the releng/builder or ci-management project’s jjb directory.
Example for releng/builder projects:
git clone --recursive https://git.opendaylight.org/gerrit/releng/builder
cd builder
mkdir jjb/<new-project>
Example for ci-management projects:
git clone --recursive https://gerrit.onap.org/gerrit/ci-management
cd ci-management
mkdir jjb/<new-project>
Where <new-project> should be the same name as your project’s Git repo in Gerrit. If your project name is “aaa” then create a new jjb/aaa directory.
Note
In similar matter, if your project name is “aaa/bbb” then create a new jjb/aaa-bbb directory by replacing all “/” with “-“.
Note
builder/jjb/global-jjb or ci-management/jjb/global-jjb are submodules of releng/builder or
ci-management repositories which require a git submodule update --init or using
–recursive with git clone to get them fetched.
Next we will create <new-project>.yaml as follows:
---
- project:
    name: <new-project>
    project-name: <new-project>
    project: <new-project>
    mvn-settings: <new-project>-settings
    jobs:
      - gerrit-maven-clm
      - gerrit-maven-merge
      - gerrit-maven-release
      - gerrit-maven-verify
      - gerrit-maven-verify-dependencies

    stream: master

- project:
    name: <new-project>-sonar
    jobs:
      - gerrit-maven-sonar
    build-node: centos7-builder-4c-4g
    project: <new-project>
    project-name: <new-project>
    branch: master
    mvn-settings: <new-project>-settings
Replace all instances of <new-project> with the name of your project as explained before.
The template above shows how to add each job from global-jjb. We recommend defining a local job-group for the project or defining each job needed in a list.
Add the following jobs for minimal setup on a Maven based project:
- gerrit-maven-clm
- gerrit-maven-merge
- gerrit-maven-release
- gerrit-maven-verify
- gerrit-maven-sonar
Optionally, you can add other jobs as well:
- gerrit-maven-verify-dependencies
Global-jjb defines groups of jobs recommended for ci, maven, python, node, rtd and more future languages as global-jjb is always under constant improvement. If you would like to explore more about these options available please refer to the Global JJB Templates section.
The changes to these files get published in Gerrit and reviewed by the releng/builder or ci-management teams for the LF project. After approvals, these Gerrits get merged and the jobs published in Jenkins.
git add jjb/<new-project>
git commit -sm "Add <new-project> jobs to Jenkins"
git review
This will push the jobs to Gerrit and your jobs will appear in Jenkins once the releng/builder or ci-management teams has reviewed and merged your patch.
Build agents
Jenkins jobs run on build agents (executors) created on demand and deleted when the job terminates. Jenkins supports different types of dynamic build nodes and developers must know the flavors available to run their custom jobs.
Jenkins uses the OpenStack Cloud plugin to administer node templates and configuration
for the node instances. For more information on the template:
https://wiki.jenkins.io/display/JENKINS/Openstack+Cloud+Plugin
Projects requiring a specific build configuration can submit a change to the ci-management
or releng repos.
Refer to the Jenkins Configuration Merge section to understand how the configuration changes get merged.
Note
Here is an example from OpenDaylight: https://github.com/opendaylight/releng-builder/tree/master/jenkins-config/clouds/openstack/odlvex
For details on how to build an image for a particular build flavor, refer to the :ref: Packer Images <lfdocs-packer-images> section.
Cloud configuration (Global Configuration)
This information will help developers (who do not have administer permissions) understand how LFIT configures a cloud and build agents via OpenStack Cloud plugin:
Log in into Jenkins and click on
Manage Jenkins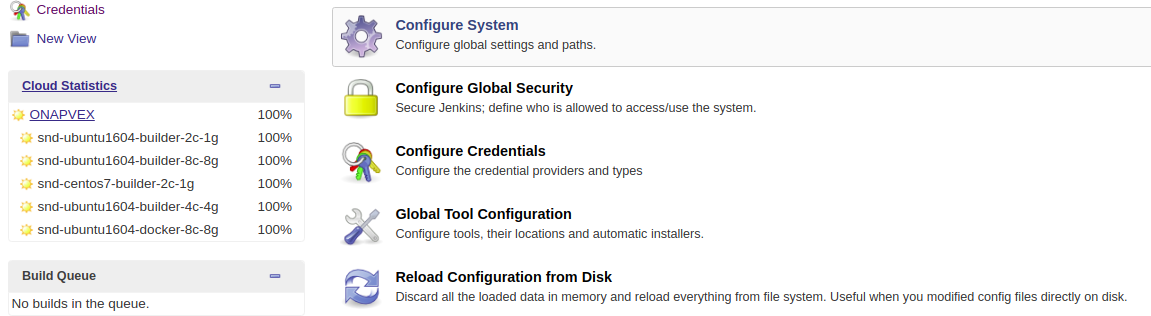
Scroll to the
CloudsectionClick
Add a new cloud,Cloud (OpenStack)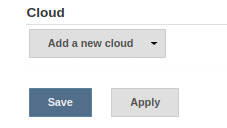
Fill the require information for Cloud provider, URL, credentials and region
Note
Click
Test Connectionto make sure the parameters provided establishes a connection.
Configure
Default slave options...Note
The
Default slave optionscan be overwritten for a particular node flavor using theTemplate Advancedoptions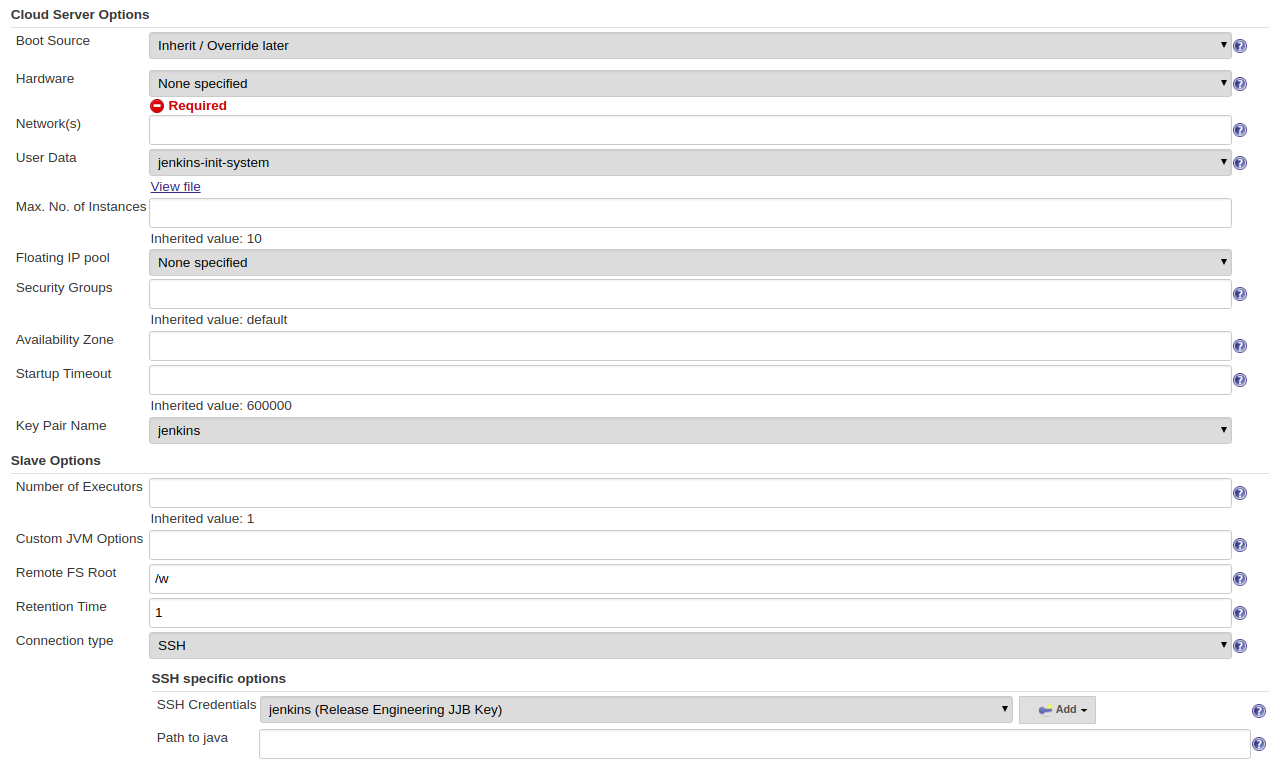
Click
Add templateand provide a nodeNameandLabels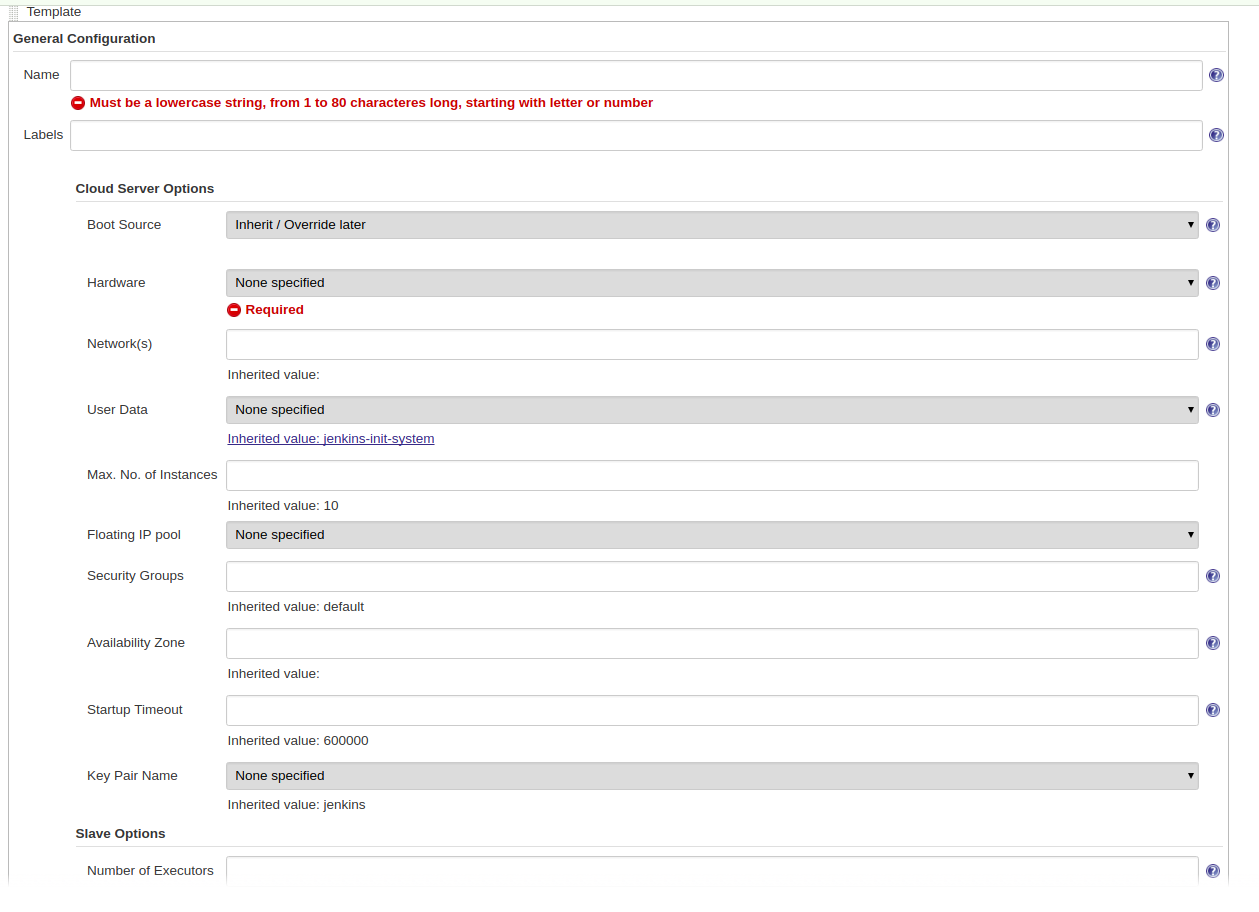
Specify a
build-nodein a project’s yaml file:build-node: ubuntu1604-builder-4c-4gNote
The value should match an available
Labelfor the node template.
Build agents flavors
This section points to each LF project’s build agents availability and flavors.
EdgeX Foundry: https://github.com/edgexfoundry/ci-management/tree/master/jenkins-config/clouds/openstack/Primary
FD.io: https://github.com/FDio/ci-management/tree/master/jenkins-config/clouds
ONAP: https://github.com/onap/ci-management/tree/master/jenkins-config/clouds/openstack/cattle
OpenDaylight (ODL): https://github.com/opendaylight/releng-builder/tree/master/jenkins-config/clouds/openstack/odlvex
O-RAN: https://github.com/o-ran-sc/ci-management/tree/master/jenkins-config/clouds/openstack/cattle
Zowe: https://github.com/zowe/ci-management/tree/master/jenkins-config/clouds/openstack/cattle
Managed Config Files
Jobs in Jenkins make extensive use of Managed Config Files for different types
of files that store configuration or credentials. These files live in the
ci-management repository along side of the rest of the community configurable
components under the jenkins-config/managed-config-files directory tree.
This directory tree has the following case sensitive format:
ci-mangement
|- jenkins-admin
   |- managed-config-files
      |- <config_type>
         |- <file_id>
            |- config-params.yaml
            |- content
            |- ??CredentialMappings.yaml
            |- ??CrednetialMappings.sandbox.yaml
      ...
Configuration of credentials for production Jenkins systems come from the ??CredentialMappings.yaml file.
Configuration of credentials for sandbox Jenkins systems come from the ??CredentialMappings.sandbox.yaml file.
The config_type will correspond to the type that is under management is how JCasC itself defines the file type.
Common types in the LF environment are:
custom
globalMavenSettings
json
mavenSettings
openstackUserData
properties
The file_id is precisely what the ID of the file should be for reference. The LF Release Engineering pratice is to always set a human readable / relatable ID.
config-params.yaml are all the parameters related to this particular file that are _not_ the content of it or the credential mappings or the file content.
The content file is the actual file that is under management. This must be a non-escaped version of the content for the field. It will be appropriately escaped when converted into the corresponding JCasC yaml.
The two double ? in the name of the CredentialMappings files must have the appropriate mapping definition.
The mapping type will use a verbatim copy when converting to the JCasC so it should be properly configured to match the config_type.
The known breakdown of config_type to CredentialMappings is:
custom -> customizedCredentialMappings
mavenSetings -> serverCredentialMappings
properties -> propertiesCredentialMappings
The following is the layout for a custom file with the ID of example
---
name: "My Custom File"
comment: "An example custom file"
This is just an example custom config file

The user for the EXAMPLE token is: $EXAMPLE_USR
The password for the EXAMPLE token is: $EXAMPLE_PSW
The user:pass for the EXAMPLE token is: $EXAMPLE
---
customizedCredentialMappings:
  - credentialsId: "example_username"
    tokenKey: "EXAMPLE"
---
customizedCredentialMappings:
  - credentialsId: "dummy"
    tokenKey: "EXAMPLE"
Log Server
While Jenkins stores the console logs on the Jenkins instance, this is short term and typically depending on the job type purged after a week. We highly recommend preferring the log server over the Jenkins system when viewing console logs as it reduces load on Jenkins and we compress logs stored on the log server so downloads are faster.
We store Log server archives for 6 months.
At the end of a build the job ships logs to a Nexus logs repo and can be conveniently accessed via the https://logs.example.org URL. The Job Build Description will contain the specific log server URL for a build log. Jobs triggered via Gerrit Trigger will have the URL to the logs left as a post build comment.
Example Jenkins Build Description:
Build logs: https://logs.opendaylight.org/releng/vex-yul-odl-jenkins-1/distribution-check-carbon/167
Example Gerrit Comment:
jenkins-releng                                                  03-05 16:24
Patch Set 6: Verified+1
Build Successful
https://jenkins.opendaylight.org/releng/job/builder-tox-verify-master/1066/ : SUCCESS
Logs: https://logs.opendaylight.org/releng/vex-yul-odl-jenkins-1/builder-tox-verify-master/1066
The log path pattern for the logs server is
LOG_SERVER_URL/SILO/JENKINS_HOSTNAME/JOB_NAME/BUILD_NUMBER typically if you
know the JOB_NAME and BUILD_NUMBER you can replace the paths before it to
convert the URL between Jenkins and the Log server.
We compress and store individual log files in gzip (.gz) format on the Nexus log repository. You can access these files through the URL.
Jenkins Production:
https://logs.example.org/productionJenkins Sandbox:
https://logs.example.org/sandbox
Log Cleanup Schedule
The log servers are setup with cron jobs that purge logs during regular scheduled intervals.
Jenkins Production: Delete logs everyday at 08:00 UTC which are older than 180 days.
Jenkins Sandbox: Delete logs and jobs every week on Saturday at 08:00 UTC.
Jenkins Job Builder
Jenkins Job Builder takes simple descriptions of Jenkins jobs in YAML format and uses them to configure Jenkins.
JJB Overview
Jenkins Job Builder translates YAML code to job configuration suitable
for consumption by Jenkins. When testing new Jenkins Jobs in the
Jeknins Sandbox, you will need to use the
jenkins-jobs executable to translate a set of jobs into their XML
descriptions and upload them to the Jenkins Sandbox server.
Install JJB
You can install the latest version of JJB and its dependencies with pip using Python Virtual Environments or lock a specific version of JJB in jjb/requirements.txt, as a workaround for known issues. The documentation is available in pip-assisted install.
Virtual Environments
For pip-assisted, we recommend using Python Virtual Environments to manage JJB and it’s Python dependencies.
The documentation to install virtual environments
with virtualenvwrapper. On Linux systems with pip run:
pip install --user virtualenvwrapper
A virtual environment is a directory that you install Python programs into and update the shell’s $PATH, which allows the version installed in the virtual environment to take precedence over any system-wide versions available.
Create a new virtual environment for JJB.
virtualenv jjb
With in your virtual environment active, you can install JJB which is visible when the virtual environment that is active.
To activate your virtual environment.
source ./jjb/bin/activate
# or
workon jjb
To deactivate your virtual environment.
deactivate
Install JJB using pip
To install JJB and its dependencies, make sure you have created and activated a virtual environment for JJB.
Set a virtualenv
virtualenv jjb
source jjb/bin/activate
Install JJB
pip install jenkins-job-builder==2.0.5
Note
If a requirements.txt exists in the repository with the recommended JJB version then, use the requirements file to install JJB by calling.
# From the root of the ci-management or builder directory
pip install -r jjb/requirements.txt
To change the version of JJB specified by jjb/requirements.txt to install from the latest commit to the master branch of JJB’s Git repository:
cat jjb/requirements.txt
-e git+https://git.openstack.org/openstack-infra/jenkins-job-builder#egg=jenkins-job-builder
Check JJB installation:
jenkins-jobs --version
Global JJB Templates
Global-JJB is a library project containing reusable Jenkins Job Builder templates. The intention is to save time for projects from having to define their own job templates. Documentation is available via global-jjb documentation specific sections of interest linked here:
Note
For infra admins, the CI Job Templates contain useful jobs for managing Jenkins and VM Images. We recommend to deploy these jobs to all new infra projects.
Packer Images
The ci-management repo contains a directory called packer which contains
scripts for building images used by Jenkins to spawn builders. There are 2
files necessary for constructing a new image:
packer/templates/BUILDER.json
packer/provision/BUILDER.yaml
Replace BUILDER with the name of your desired builder image type.
The templates file contains packer configuration information for building the image. The provision file is a script for running commands inside the packer-builder to construct the image. We recommend using the Ansible provisioner as that is the standard used by LF packer builds.
While developing a new builder image type, we can use the Jenkins Sandbox to build and deploy the image for testing. Configure a Jenkins Job the new image type using the global-jjb gerrit-packer-merge job template.
Example job definition:
- project:
  name: packer-robot-jobs
  jobs:
    - gerrit-packer-merge

  project: releng/builder
  project-name: builder
  branch: master
  archive-artifacts: '**/*.log'

  build-node: centos7-builder-2c-1g

  platforms: centos-7
  templates: robot
The gerrit-packer-merge job creates jobs in the format
PROJECT_NAME-packer-merge-PLATFORM-TEMPLATE. Where PROJECT_NAME is the
project-name field, PLATFORM is the platforms field, and TEMPLATES is
the templates field in the yaml above. In this example the resultant job is
builder-packer-merge-centos-7-robot.
Follow the instructions in the Pushing a patch to Gerrit section to push this job to the Sandbox.
Once the job is on the Jenkins Sandbox, run the job and it will attempt to deploy the new image and make it available. Once the job completes look for a line in the logs that look like:
==> vexxhost: Creating the image: ZZCI - CentOS 7 - robot - 20180301-1004
This line provides the name of the new image we built.
Jenkins Production & Jenkins Sandbox
The Jenkins server is the home for all project’s Jenkins jobs. Most of the job configuration gets managed through code using JJB through the ci-management or releng/builder repos.
To access the Jenkins Production URL for any project use:
https://jenkins.example.org
Similarly, the project’s corresponding Jenkins Sandbox URL would be:
https://jenkins.example.org/sandbox
Any users with an LFID can access the Jenkins Production site, but for Jenkins Sandbox please request an access. To do so, refer to the section Get access to the Jenkins Sandbox
Project contributors do not edit the Jenkins jobs directly on the Jenkins production server. Instead, we encourage them to use the Jenkins Sandbox.
The Jenkins Sandbox has similar configuration to the production instance. Jenkins Sandbox does not publish artifacts in Nexus or Nexus3 or vote in Gerrit which makes it a safe environment to test the jobs. Users can edit and trigger the jobs directly to test the behavior.
The Jenkins Sandbox can contain dummy configuration files and dummy credentials in case it helps take the test further and not fail on the first steps due to the configuration not being present. Any attempt to use the configuration files will cause the server communications to fail. To add dummy configuration files, please create a new ticket to Helpdesk.
In such case, merge jobs, push, CLM, Docker or Sonar jobs get tested to some extent due to this limitation. Once the job template gets merged and becomes available in Jenkins Production, we can confirm the jobs are actually making server communications as expected with Nexus-IQ, Sonar, Gerrit or Nexus.
The Sandbox has limited amount of Virtual Machine nodes instances to test compared to production Jenkins.
Documentation on using the Jenkins Sandbox and uploading jobs is available here.
How to test unmerged CR in global-jjb or lftools with Jenkins
To test one or more changes in review state on the global-jjb or lftools repository with a Jenkins job on sandbox, insert the sample code in the relevant builder section on the job. This reduces the number of regressions and/or hot fixes required post-release.
Example code for lftools changes:
git clone https://gerrit.linuxfoundation.org/infra/releng/lftools /tmp/lftools
cd /tmp/lftools
# For example replace ${GERRIT_REFSPEC} with 'refs/changes/81/15881/2'
git fetch "https://gerrit.linuxfoundation.org/infra/releng/lftools" ${GERRIT_REFSPEC} && git cherry-pick --ff --keep-redundant-commits FETCH_HEAD
git log --pretty=format:"%h%x09%an%x09%s" -n5
virtualenv --quiet -p $(which python3) "/tmp/lftools-env"
set +u
source "/tmp/lftools-env/bin/activate"
set -u
pip3 install --quiet -r requirements.txt -e .
cd ${WORKSPACE}
Example code for global-jjb changes:
cd $WORKSPACE/global-jjb
# For example replace ${GERRIT_REFSPEC} with 'refs/changes/81/15881/2'
git fetch "https://gerrit.linuxfoundation.org/infra/releng/global-jjb" ${GERRIT_REFSPEC} && git cherry-pick --ff --keep-redundant-commits FETCH_HEAD
git log --pretty=format:"%h%x09%an%x09%s" -n5
cd ${WORKSPACE}
Note
Repeat the line to fetch ${GERRIT_REFSPEC} to test one or more changes.